Blue Crabs

For this assignment, I used the pin tool to add and organize the pins on the crab image. To begin I placed pins along the body of the crab to create the illusion that the crabs legs move. The next pins I placed are where I imagine the first joint of the crab would be. For the appendages on the side it would be where the spiked portion meets with the base of the arm. I then used key-frames to animate the light drifting movement of the arms. I decided at this point to use some artistic freedom and I modeled my crab after what I would imagine it would move if it was just standing still. Sort of like an idle animation. From here I placed two pins , for each of the joins of the crab to prevent warping. The pin placed on the inner portion of the arm is the pin I adjust for the movement and the other remains untouched. Like the other pins, I animate the movement and then place pins on the next joint. Now that I’ve placed pins on the claw joint, I place pins on each side of the crabs claw and animate their movements. Back to the side legs: I place pins slightly further than the joint from before and place another pin. I animate the movement and then move on to the text animation. For this I applied some effect pre-setts.
Clouds & lightning

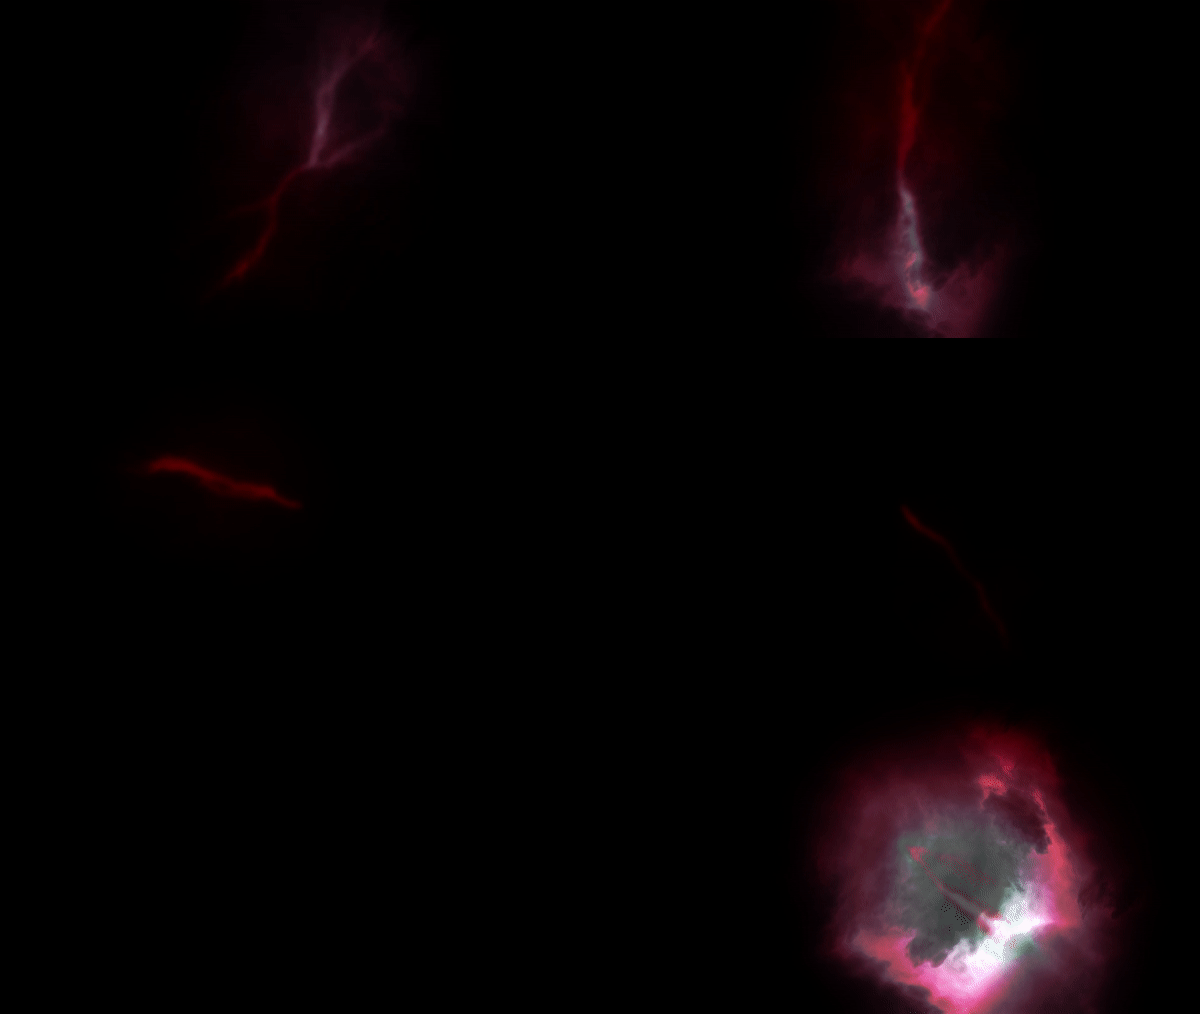
For this assignment I began by importing and arranging the cloud texture until I was satisfied with how it looks. After arranging the cloud texture, I began working on the lightning animation. For this I used the advanced lightning effect, using the omni setting. To animate the movement of the lightning, I key-framed changes in the conductivity settings. From here, increased core drain and modified the look of the lightning. I then duplicated the lightning to create the second lightning color. I used exposure and curves to adjust the finished animation.

Lightinginging

Update: Wednesday 11/2

For this update I have progressed through much of the video. I currently have warm tinted lightning coming out of the lamp posts. In the following days I will animate the reflection and texture on the animation.

Final: 11/4

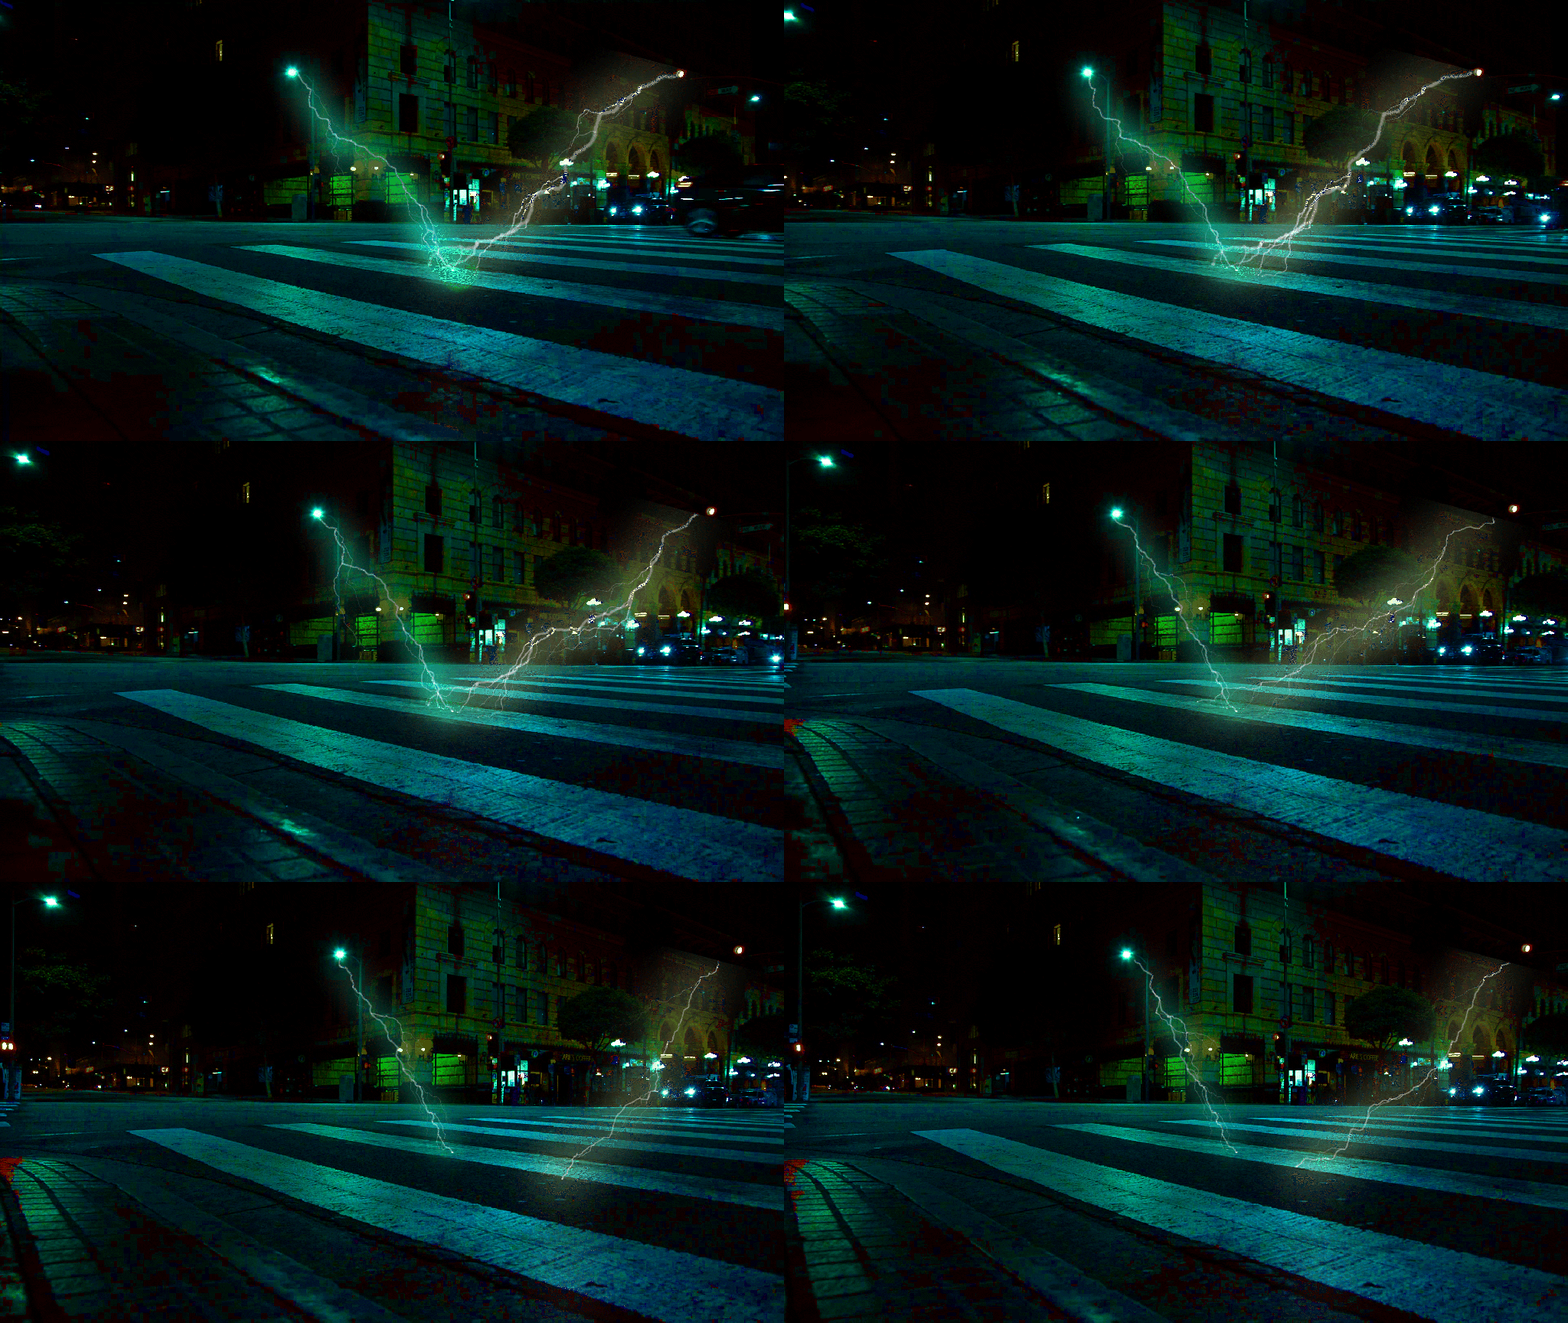
For this assignment I used After effects to make the lightning animation shown. To do this I used the advanced lightning preset to start. With this, I used the various settings within the effect to adjust the lightning. After this I used a combination of linear wipe and fast box blur to make and mask the refection of the lightning on the ground. I got a little bored so I decided to personalize the animation. For this, I animated key-frames on the origin and end of the lightning. I wanted the lightning to seem as if it was coming out of the lamp posts. I did have three but I had to remove one due to complications. In addition, the yellow tinted lightning for some reason refused to re-connect to the lamp post, I tried for a while. To finalize the animation I added a color to effect and adjusted the color of the animation.

Halloween

For this assignment, I animated a panning Halloween scene. To do this, I started by animating the bats. I placed 5 pins on each bat and used keyframes to animate the movement. To loop this movement, I used the code, “LoopOut(“pingpong”). After this, I used the same method to animate the movement of the scarecrow and the zombies. I used the change to color effect on the scarecrow and the house to create the effect shown. To do this I created various keyframes of color in the “to” and “from” bars in the effects panel. To complete the animation, I panned the scene with keyframes.

Lesson 06

For this assignment we learned how to simulate light changes with the lights surrounding the board. Then, we used track mat to confine the word animation we did previously in the lesson. Following this we used the corner pin effect to animate the “tickets on sale now!” sign. To finish the animation, we animated the darkening of the sky.

Lesson 05

For this lesson I learned how to animate a multimedia presentation. In this assignment I adjusted anchor points, parented layers, and pre-composed layers. Next, we key-framed a motion path and was taught how to duplicate key-frames. To complete the animation, we animated the movement of the sky to follow the rest of the animations.